
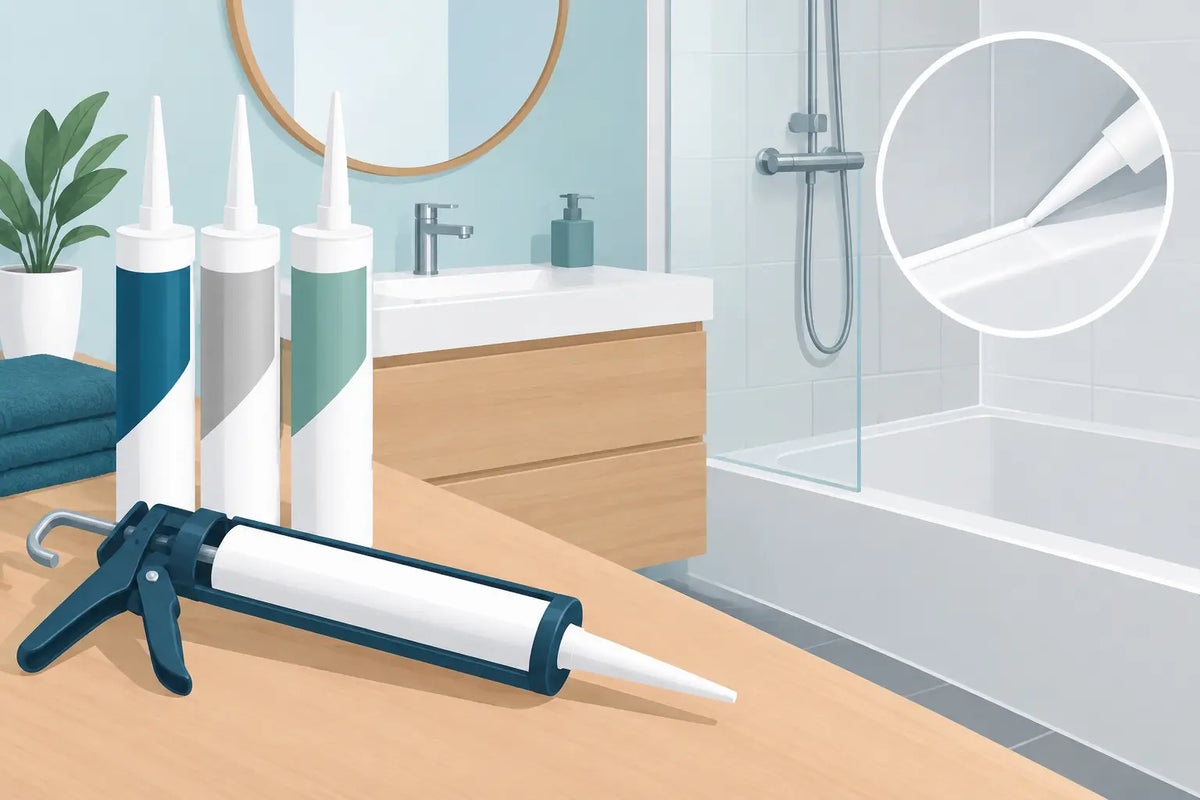
A bead of silicone that turns black, peels away, or cracks is never just a cosmetic issue. In a shower or around a bathtub, a failing silicone seal can let water seep behind the wall covering, damage materials, and encourage mold growth. Choosing the right product and applying it carefully protects your renovation while keeping the finish neat and contemporary.
What is silicone sealant used for in the bathroom?
Silicone sealant provides a watertight seal between two surfaces that don’t move in exactly the same way. This applies to the joint between a shower base and a wall, a bathtub and tile, a sink and its countertop, or a shower door and its frame. These joints are exposed to water, steam, cleaning products, and temperature changes.
Ceramic tile grout serves a different purpose. It fills the spaces between tiles, but it is rigid. Silicone, on the other hand, stays flexible after drying. This elasticity allows it to absorb slight movement without cracking. That’s why it’s the right product for the corners of a tiled shower or where two different materials meet.
A well-applied sealant also enhances the room’s appearance. A neat line in a color that matches the fixtures, wall, or shower base gives the room a polished look. By contrast, excess silicone or an uneven bead quickly draws the eye, even in a high-end bathroom.
Which silicone sealant should you choose?
For a bathroom, choose a silicone designed for damp areas. Its formula should be water-resistant and include mold protection. An all-purpose product may work for some small jobs, but it rarely offers the same long-term resistance in a shower used every day.
The choice also depends on the materials. Acrylic shower bases, bathtubs, sinks, ceramic, glass, and countertops don’t all have the same surface or move in the same way. Always check that the product is compatible with the materials you’re joining. Neutral-cure silicone is often a safe choice for several sensitive surfaces, including some metals and natural stone. Acetoxy silicone adheres very well to several nonporous materials, but its vinegar smell is stronger during application, and it may be less suitable for certain finishes.
Color also deserves careful consideration. Clear silicone is subtle around shower glass or when two materials have very different colors. White remains a classic choice for white bathtubs, sinks, and shower bases. Black can accent a modern design with black faucets or a black shower frame, but requires especially precise application. For ceramic tile, look for a shade close to the grout if you want the joint to blend into the design.
Don't confuse silicone with acrylic sealant
Acrylic sealant is easy to smooth and can sometimes be painted, but it is not the best choice for areas directly exposed to water. Around a shower, bathtub, or sink, sanitary-grade silicone remains the most durable solution. L acrylic can be used in less humid areas, for example on certain moldings or small finishes outside the splash zone.
Where should you apply silicone in your bathroom?
The areas to seal are those where water can seep into a joint. Pay particular attention to the perimeter of the bathtub, the edge of the shower base, the vertical corners of a ceramic shower, and the joints between wall panels. The edge of an undermount sink should also be sealed to prevent cleaning water or splashes from getting under the countertop.
For a shower door, follow the manufacturer's recommendations. Some assemblies must be sealed on the outside only so that water entering the profiles can drain back into the shower. Applying silicone everywhere may seem safer, but it can trap water in the frame. This is a good example of how the right approach depends on the product installed.
Around a vanity, the seal is especially useful if the back of the cabinet meets an uneven wall or if the sink rests on the countertop. However, silicone should not be used to hide a large gap, a poorly fitted cut, or a leveling problem. Sealant is a waterproofing finish, not a fix.
How to apply a clean, durable silicone seal
Preparation largely determines the quality of the result. First, remove all old silicone with a suitable scraper. Residue, soap, dust, and moisture prevent the new product from adhering properly. Clean the surface, rinse if needed, then let it dry completely. A shower or bathtub must be dry before you start.
Then cut the cartridge nozzle at an angle, with an opening slightly smaller than the joint to be filled. It’s easier to add a little material than to remove a large excess. Place the cartridge in a caulking gun and apply steady pressure to lay down a continuous bead.
Apply the product at a steady pace. Keep the nozzle close to the joint to push the silicone into the gap rather than just laying it on the surface. On a long line, it’s better to work in sections than to rush and lose control of the bead.
Smooth it immediately with a finishing tool or a finger lightly moistened with a suitable solution. The goal is to press the silicone into the joint and create a gentle slope that directs water back toward the shower, bathtub, or sink. Remove the masking tape as soon as the seal is smoothed, before the product starts to form a skin.
For a uniform result, masking tape is very useful on textured ceramic, dark walls, or black finishes. It defines the edges of the seal and reduces difficult cleanup. This step adds a few minutes, but it can make a visible difference on modern, minimalist surfaces.
Mistakes that shorten silicone’s lifespan
The most common problem is applying it to a damp or poorly cleaned surface. The seal may look fine the same day, then peel away after a few weeks. Old silicone left in a corner, even in small amounts, can also affect adhesion.
Also avoid making the seal too thin. It may crack when the bathtub, shower base, or walls undergo slight movement. Conversely, a bead that is too wide holds more dirt and can look bulky. The ideal width depends on the gap to be filled, but the line should remain proportionate and even.
N’t use the shower or bathtub too soon. Follow the drying and curing time indicated on the cartridge. The surface may feel dry to the touch before the silicone has reached its full water resistance. In many cases, you need to wait at least 24 hours, sometimes longer depending on the product, the thickness of the seal, and the room conditions.
Finally, avoid highly abrasive cleaners and metal tools for maintenance. They can mark the seal, create small cracks, or remove the surface protection. A mild cleaner and a non-abrasive cloth are usually enough to keep the finish looking clean.
When should a silicone seal be replaced?
A seal does not need to be replaced on a fixed schedule. Its lifespan depends on the product quality, installation, bathroom ventilation, and daily use. Inspect it regularly, especially in shower corners and around the bathtub.
Replacement is necessary if you see cracks, peeling, missing sections, or mold stains that no longer come off with cleaning. Slight darkening can sometimes be treated, but when it is embedded in the silicone, it is generally best to remove the entire seal. Applying a new layer over the old one does not create a reliable watertight seal.
Good ventilation helps a great deal. Run the fan during and after your shower, wipe water buildup off surfaces when possible, and leave the shower door ajar. These simple steps limit lingering moisture that wears down finishes over time.
A discreet, clean, well-applied silicone seal protects the details that matter most in a bathroom. Paired with durable materials and carefully selected components, it helps your space maintain its elegance and performance day after day.
