
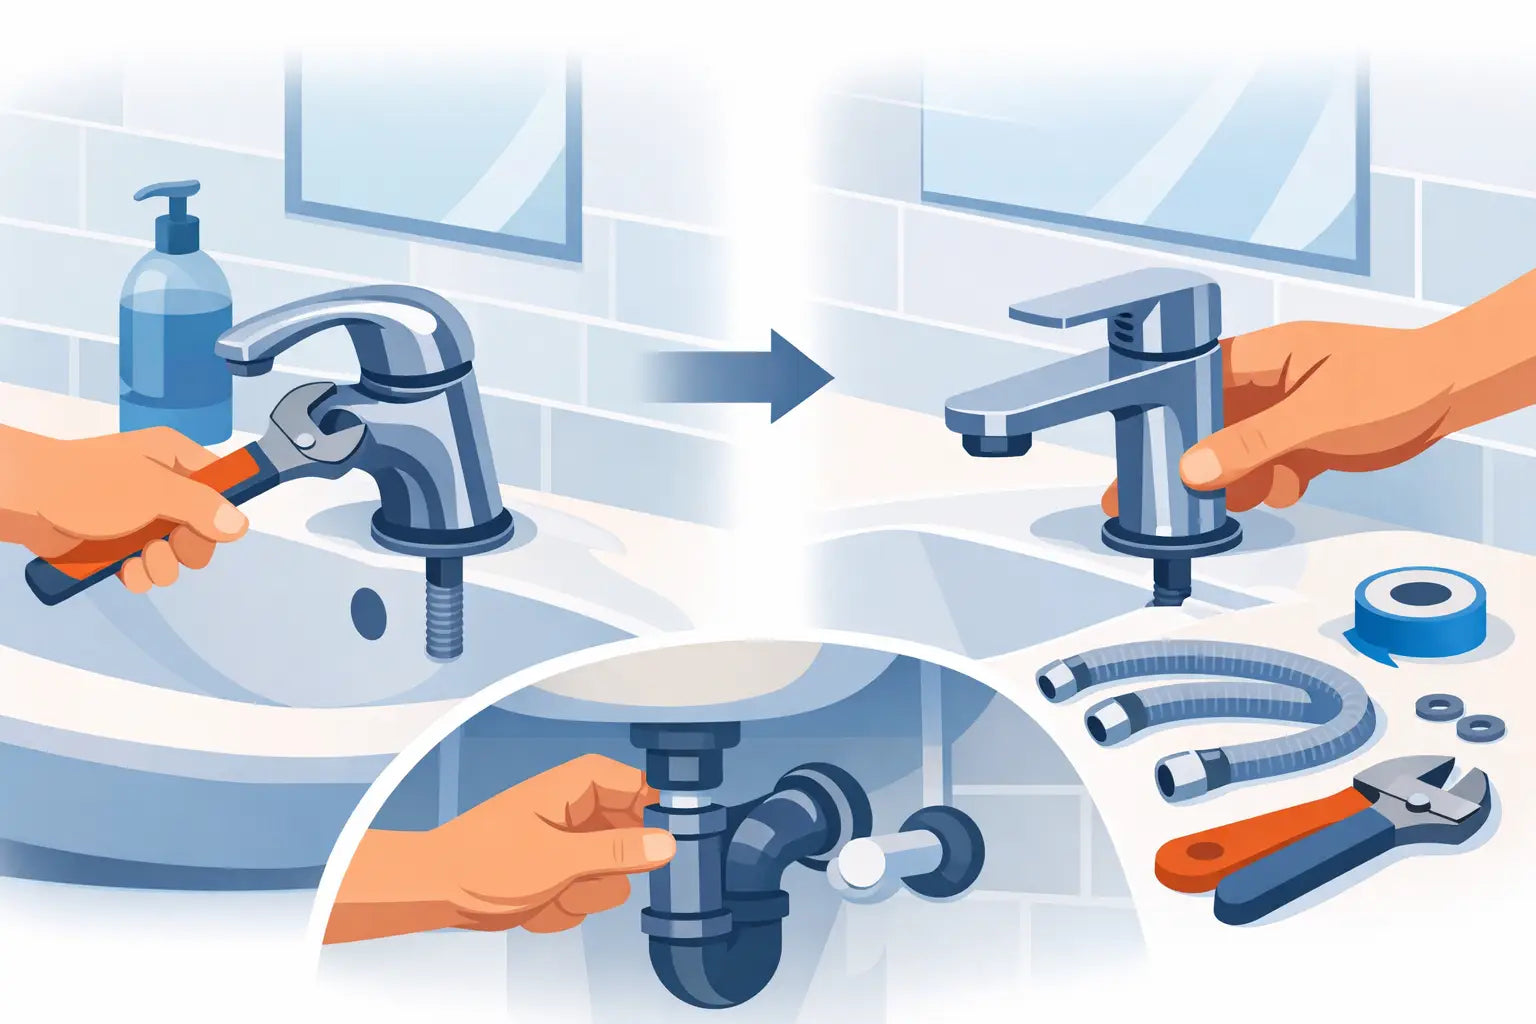
A handle that stiffens, a dripping spout, or an outdated finish is enough to make the entire room look old. Replacing a bathroom faucet is an accessible task when the fittings are in good condition and the new model matches your sink. The result is immediate: a more pleasant water point to use, better flow control, and a more modern look without remodeling the entire bathroom.
The key point is not just to choose an elegant faucet. You need to check the center distance, the number of holes, the spout height, and the type of connection before removing the old one. A few minutes of measuring can prevent product returns, complicated installation, or a sink that’s hard to clean.
Before replacing a bathroom faucet: checks to make
Start by observing the sink, the cabinet, and the existing faucet. A single-handle mixer is usually installed in a single hole. A two-handle model often requires three holes: one for the spout and one on each side for the controls. Some sinks are already drilled, while others, especially countertop sinks, require a faucet installed on the countertop or on the wall.
Measure the diameter of the holes and the space available behind the sink. Also check the distance between the spout and the drain. A spout that’s too short directs water near the back edge; too long, it can splash the front. Ideally, the stream should fall toward the center of the basin, where it’s most comfortable and easiest to control.
Height is just as important. With an undermount sink, a low or standard faucet fits most setups. With a countertop sink, you generally need a taller model or a wall-mounted faucet to leave enough room to wash your hands without hitting the spout. Also check that the lever can open fully without touching a mirror, a shelf, or the wall.
Under the cabinet, locate the hot and cold water shut-off valves. If they are stuck, corroded, or missing, it’s better to have them replaced before continuing. A new faucet won’t fix a fragile water supply. Finally, check the condition of the hoses and the trap: a light renovation is often a good time to start fresh with clean, reliable fittings.
Which faucet to choose for your sink?
The single-handle mixer remains the most practical choice for a family bathroom. One lever controls both temperature and flow, simplifying daily use. It’s also a visually clean solution, especially suited to contemporary vanities.
Two-handle faucets appeal with their more classic or hotel-style look. However, they require a compatible setup and a bit more cleaning around the two controls. For a small sink, a compact model limits bulk. For a large double sink, two identical faucets create a neat and balanced composition.
The finish greatly influences the final look. Chrome remains bright, versatile, and easy to match with existing accessories. Matte black offers a more graphic signature, but limescale marks may be more visible depending on water quality and maintenance. Brushed nickel offers a popular compromise: it adds warmth while better hiding everyday marks.
Beyond style, prioritize a solid body, quality hoses, and a cartridge designed to last. The cartridge is the heart of the faucet: it regulates water, withstands repeated use, and limits leaks when well made. At Voda, lifetime-guaranteed cartridges provide real reassurance for an element used multiple times daily.
Tools needed before starting
Prepare your workspace before turning off the water. You will need an adjustable wrench, a slip-joint pliers, a basin wrench if access under the sink is tight, a bucket, cloths, and a sponge. Also keep PTFE tape handy only if the manufacturer recommends it for a threaded connection. Modern hoses with integrated seals usually don’t require it.
Protect the bottom of the cabinet with a towel. Residual water in the hoses often drains during disassembly, even after closing the shut-off valves. Take a photo of the connections before undoing them: this simple reference can be useful if space is tight or if several pipes run under the sink.
Steps to replace the faucet
Turn off the water and drain the pipes
Close both shut-off valves, then open the existing faucet to release pressure and drain remaining water. Check that both hot and cold water are fully shut off. If a shut-off valve doesn’t close completely, don’t force it: turn off the main supply and consider calling a plumber if the part is damaged.
Remove the old faucet without forcing
Place the bucket under the hoses, then unscrew the supply connections. Next, loosen the mounting nut or nuts located under the sink. In older installations, limescale or corrosion can slow this step. Work gradually to avoid twisting supply pipes or cracking a fragile sink.
Once the faucet is removed, carefully clean the surface around the hole. Remove silicone, gasket, or limescale residues. The base of the new faucet must rest on a smooth, dry surface to ensure good sealing and a clean finish.
Install the new model
Insert the faucet into the hole(s) following the manufacturer’s instructions. The supplied base gasket usually goes between the faucet and the sink. Under the countertop, install the stabilizing plate and mounting nut, then tighten until the faucet no longer moves.
Do not overtighten. On a ceramic sink or composite countertop, too much pressure can damage the surface or deform the gasket. Align the faucet before the final tightening: the spout should be centered and the handle easy to operate.
Then connect the hoses to the hot and cold water supplies. Follow the markings on the product. Screw on by hand first, then moderately tighten with the appropriate tool. The gasket ensures the seal; do not crush the fitting to make it watertight.
Test before putting away tools
Slowly reopen the shut-off valves, then watch the connections under the sink for a few minutes. Pass a paper towel around each joint: slight dampness can reveal a subtle leak. Run cold water, then hot water, varying the flow.
Also remove the aerator at the end of the spout and let water run for a few seconds. This flushes out small debris that may have loosened during installation. Replace the aerator, check the stream, and make sure water flows well into the basin without splashing the countertop.
When to call a plumber?
Changing a faucet becomes more complicated when shut-off valves are defective, fittings are heavily corroded, or you switch from a sink-mounted faucet to a wall-mounted model. A wall installation requires precise positioning of water outlets before wall finishing. Likewise, moving supply lines, changing the number of holes, or working in a very compact cabinet may justify professional help.
This choice is not a DIY failure. It protects new finishes, prevents water damage, and ensures the faucet works as intended. For a simple replacement with the same configuration, a careful homeowner can achieve excellent results with proper measurements and a bit of method.
A well-chosen faucet does more than just run water: it improves comfort every morning and gives a coherent finish to the vanity. Take the time to match its shape, height, and finish to your sink: this precise detail is what makes a renovation truly successful.
