
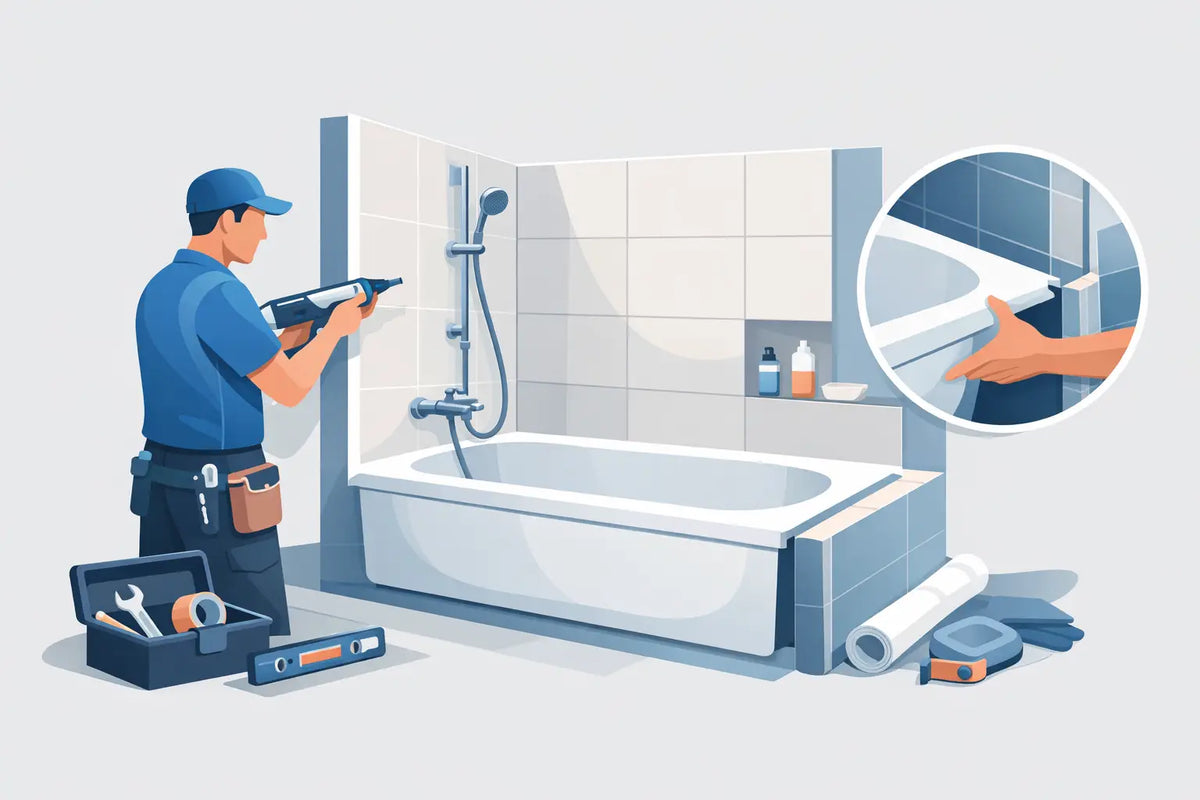
An alcove bathtub can quickly transform a bathroom, provided that the three walls, floor, and plumbing are ready before installation. To install an alcove bathtub easily, it is not enough to slide it into place: precise leveling, accessible connections, and careful waterproofing will make all the difference between a lasting renovation and a source of costly repairs.
This format remains a very practical choice for residential bathrooms. It optimizes space, makes it easy to add a shower-bathtub combination, and provides a clean finish with an exposed or integrated apron. Here is how to prepare for and carry out the installation methodically.
Before installing an alcove bathtub easily: the right checks
An alcove bathtub is designed to fit between three walls. Before ordering or unpacking the product, measure the width between the walls at several heights, the available depth, and the desired height of the rim. Walls are not always perfectly square, especially in an existing home. Use the shortest measurement and check the technical specifications of the model you choose.
The drain location deserves the same attention. Bathtubs are available with left- or right-hand drains, depending on whether you are facing the bathtub. The drain, overflow, and water supply must match your layout. Relocating a drain is possible, but it may require opening the floor and hiring a plumber.
Also check the floor structure. An acrylic bathtub is lightweight to handle, but its weight increases considerably once it is filled with water and occupied. The floor must be rigid, level, and free of areas damaged by moisture. On an uneven subfloor, correct the defects before proceeding rather than compensating with excessive amounts of sealant or shims.
Preparing the alcove and plumbing
Remove the old bathtub, wall panels, and damaged materials until you have a clean structure. This is the right time to inspect the studs, replace any deteriorated wood, and confirm that the walls are straight. A bathtub should never be used to conceal a structural problem.
Install or adjust the supply pipes, the faucet valve body, and the drain line before closing the walls. Provide an access opening if your configuration requires one, especially for a concealed faucet or connections that will no longer be accessible after finishing. For complex plumbing work, hiring a professional remains the safest choice.
Depending on the model, the manufacturer may require the installation of a support ledger on the walls or a mortar bed beneath the base. The ledger supports the rim without carrying the bathtub’s entire weight. The mortar helps stabilize certain acrylic bases and eliminate movement beneath the feet. Never choose this method out of habit: follow the instructions specific to the bathtub, as bottom construction varies from one model to another.
Before the final installation, test-fit the bathtub dry in the alcove. This step confirms that the drain aligns, that the apron rests properly on the floor, and that the rim meets the studs without tension. A bathtub forced into an opening that is too narrow can deform or crack over time.
Installing the bathtub without compromising its stability
Protect the bathtub surface with clean cardboard during handling. Acrylic finishes and glossy surfaces withstand normal use well, but they can be scratched by tools, screws, or construction debris. Ideally, work with two people: the bathtub is bulky even when it is lightweight.
Begin by assembling the drain and overflow according to the manufacturer’s instructions. It is generally easier to prepare this assembly before putting the bathtub in place. Use the recommended gaskets and tighten carefully. Overtightening can deform a gasket or damage a plastic component.
If a mortar bed is required, apply it just before lowering the bathtub. Then position the bathtub without sliding it unnecessarily. Check the level along the length and width of the rim. The bathtub must be level, but avoid correcting a slope by lifting it with improvised shims beneath the base unless the manufacturer explicitly specifies this. The base must remain supported across its entire intended surface.
Once the alignment has been verified, secure the rim to the studs using the provided fasteners or suitable screws, without drilling into the tub. In many cases, the fasteners pass through the nailing flange located above the rim. Do not tighten enough to deform the acrylic. The goal is to hold the bathtub in place, not force it against an imperfect wall.
Test before closing the walls
This check takes little time and can prevent you from having to reopen a new wall. Connect the drain, fill the bathtub with a few inches of water, and inspect all connections. Then drain it and monitor the drain and overflow. Also check the stability of the base by standing in the bathtub.
If you notice movement, unusual noise, or a leak, correct the problem immediately. Do not install wall panels or tile until the test is conclusive. A slow leak behind a wall can damage the insulation, structure, and ceiling of the room below.
Achieving proper waterproofing around the bathtub
The bathtub is only one part of the shower-bathtub combination. Water splashed onto the walls must be directed into the tub and must never be allowed to reach the drywall or framing. Install a moisture-resistant backer board and a waterproofing system compatible with your wall covering.
For a ceramic tile finish, the wall board should extend down to the bathtub flange according to the chosen method. The membrane or waterproof system must then provide continuity with this area. Follow the recommendations of the manufacturers of the boards, membranes, adhesive, and grout: combining incompatible systems can compromise their performance.
The joint between the finished wall covering and the bathtub should be finished with a flexible sanitary sealant designed for wet areas. Leave the necessary movement space rather than filling this joint with rigid grout. The sealant absorbs the bathtub’s slight natural movements and limits water infiltration.
Wait for the specified curing time before using the shower or filling the bathtub. This patience is part of a quality installation. Sealant used too soon may come loose or trap moisture.
Mistakes that complicate installation
Most problems result from rushing the preparation. Measuring only once, overlooking the condition of the subfloor, or closing the walls before testing for leaks are risky shortcuts. Another common mistake is choosing a bathtub solely for its style without checking the drain position, rim height, and compatibility with the desired faucet.
Material selection also matters. A quality acrylic bathtub provides a comfortable, easy-to-maintain surface suitable for many renovation projects. Pair it with reliable faucets, properly waterproofed shower walls, and a finish that coordinates with the room’s vanities and accessories. At Voda, this approach makes it possible to select the essential bathroom elements in a cohesive style.
If the walls need to be moved, the drain needs to be relocated, or you have any doubt about the connections, hire a qualified installer. You can fully prepare the project, choose the products, and complete the finishing work while entrusting the more sensitive steps to a professional.
A properly installed alcove bathtub should give an impression of simplicity: clean lines, a stable rim, effective drainage, and no compromises on waterproofing. Take the time to prepare what will remain hidden behind the walls. This discreet work will allow your bathroom to retain its comfort and elegance for years to come.
