
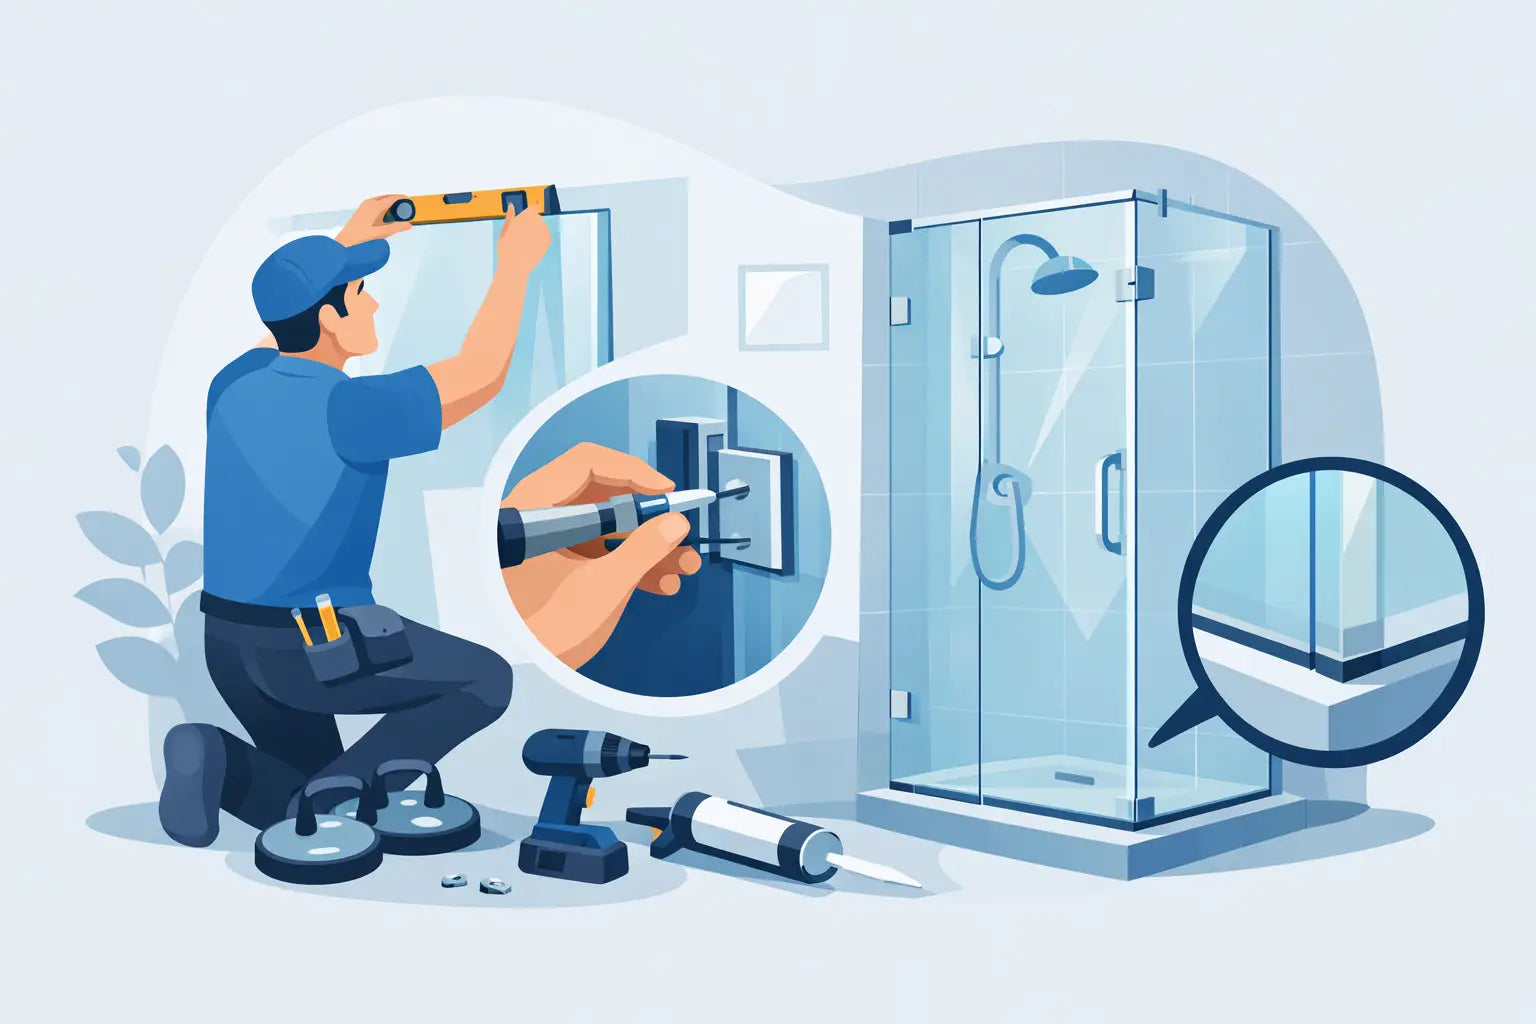
A poorly fitted shower door is noticeable from the first use: an uneven gap against the wall, difficult closing, or a few drops of water on the floor. Conversely, installing a shower door methodically results in a clean finish, protects your bathroom, and truly highlights the shower. The secret doesn’t lie in a complicated operation but in three things: taking accurate measurements, ensuring the walls are plumb, and allowing the sealant time to dry.
Before starting, always check the dimensions, the type of opening, and the specific instructions for the chosen model. A sliding, pivoting, or folding door is not installed exactly the same way. Compatibility with the shower base and the location of the plumbing fixtures are just as important as the style of the glass and hardware.
Preparing to install your shower door
Preparation prevents most unpleasant surprises. A tempered glass shower door is heavy and precise: an error of a few millimeters can complicate alignment or compromise waterproofing. It’s therefore best to work with two people, especially when handling the glass panels.
Make sure you have a level, measuring tape, pencil, drill with bits suitable for your wall covering, screwdriver, caulking gun, and mold-resistant sanitary silicone. Also prepare protective glasses and plastic or wooden shims to set the glass down without damaging it.
Check the base and walls
The shower base must be perfectly stable, level, and already fixed. Check its width in three places: near the front edge, in the center, and near the back wall. Note the smallest measurement. This determines the actual space available for the door.
Also measure the height of the walls where the profiles will be fixed. In renovations, walls are rarely perfectly straight. A slight deviation is often absorbed by the adjustment profiles, but only within the limits specified by the manufacturer. If the wall is significantly out of plumb, the surface should be corrected before installing the door rather than forcing the hardware.
The wall support deserves special attention. Behind the tile, wooden reinforcements or a solid structure facilitate durable fixing. Use anchors compatible with the material when you cannot screw into a stud. Drilling tile requires an appropriate bit, moderate pressure, and slow speed to avoid cracks.
Choose the correct opening direction
Before drilling, temporarily place the elements on the floor and visualize the door’s movement. A pivoting door must open without hitting a vanity, toilet, radiator, or hanging towel. It should also not block access to the plumbing fixtures.
In a small bathroom, a sliding or folding door can be a more practical solution since it doesn’t require clearance outward. A pivoting door often provides a wider entrance and a stronger visual presence. The right choice depends as much on your bathroom layout as on your design preferences.
How to install a shower door step by step
Start by reading the complete manual, even if the assembly seems intuitive. The order of parts, the position of seals, and the orientation of some profiles can vary from one model to another. Organize screws and accessories on a clean surface to avoid mixing up components.
Install the wall profiles
Place the first profile against the wall at the position indicated by the manual. Use the level along its entire height, then mark the fixing holes. This step must be done precisely: a tilted profile results in a tilted glass panel.
Drill at the marks, install the necessary anchors, then screw the profile in without overtightening. Repeat on the other side. Before proceeding, check once more that both sides match the width of your shower base and that the profiles are perfectly vertical.
For a sliding door, next install the bottom rail or threshold according to the planned configuration. It must be centered on the base edge, oriented correctly to guide water inside the shower. Cut it only if the manufacturer allows, following their measurement and finishing instructions.
Place the panels
Set the fixed panels into the profiles using shims to maintain the recommended clearance above the base. Never place a glass edge directly on tile or a hard surface. Even tempered glass, known for its strength, can be damaged by a localized impact on its edge.
Install the seals, clamps, or retaining screws in the indicated sequence. Do not fully tighten all screws immediately. Leaving slight play allows adjustment before final tightening. Check the panel’s vertical level, alignment with the wall, and the uniformity of gaps between elements.
For a pivoting door, mount the hinges and position the movable panel with the help of a second person. For a sliding door, fix the top rail, install the rollers on the doors, and hang the panels. In both cases, handle the glass with clean, dry hands, avoiding direct contact with metal tools on the edges.
Adjust the closing and alignment
This is the stage where the installation takes its final form. Test opening and closing several times. The door must slide or pivot without rubbing, excessive play, or touching the base. Magnetic seals should meet cleanly along their entire height.
Adjust the rollers, hinge screws, or compensation profiles in small increments. A sudden adjustment can shift the whole assembly and create gaps elsewhere. Once the movement is smooth and the gaps uniform, tighten all fixings according to the manufacturer’s recommendations.
Then install the handle, stops, and water deflectors. Check that the deflectors are correctly oriented inward. A part installed backward can let water pass despite a perfectly aligned door.
Achieving waterproofing without compromising drainage
Silicone is the final step, but it should not be treated as a minor detail. Clean and dry surfaces thoroughly before application. Apply a consistent bead of sanitary silicone on the outside of the wall profiles and, depending on the model, on the outer edge of the base.
Do not automatically seal the inside of the threshold or profiles. Many doors are designed with small passages that allow water to return to the shower. Sealing these with silicone can trap water in the rail, promote deposits, and cause leaks over time. Always follow the caulking areas specified in the manual.
Smooth the seal immediately after application for a discreet and uniform finish. Allow it to dry for the recommended time before using the shower. It’s tempting to test the installation right away, but insufficiently cured silicone cannot ensure reliable waterproofing.
Common mistakes that cause leaks
A door installed on an unleveled base may seem fine at first but will become misaligned over time. Similarly, a profile fixed without a level makes closing difficult and unnecessarily stresses hinges or rollers.
Another frequent mistake is taking only one measurement at the bottom of the opening. Dimensions should be confirmed at several heights, especially in existing bathrooms. Finally, never overtighten screws against the glass: the hardware should hold the panel firmly, not compress it.
After the silicone has dried, test with a water jet directed at the seals, corners, and bottom of the door. Observe the outside of the shower, then correct any seal if needed. A simple check at this stage prevents infiltration behind the vanity or under the floor covering.
When to call a professional installer
DIY installation is suitable when the base is straight, walls are solid, and the model is standard. However, a severely out-of-level wall, a large frameless door, a custom shower, or fragile tile may justify professional intervention. The extra cost can be preferable to replacing a glass panel or repairing water damage.
For a residential project, choose a door whose dimensions, glass type, and hardware match your shower base. At Salle de bain Voda, the goal remains simple: to help you assemble components with a contemporary style, designed to last and easy to select. A well-chosen and well-installed door doesn’t just close a shower: it completes a bathroom that’s more elegant, practical, and pleasant to use every day.
