
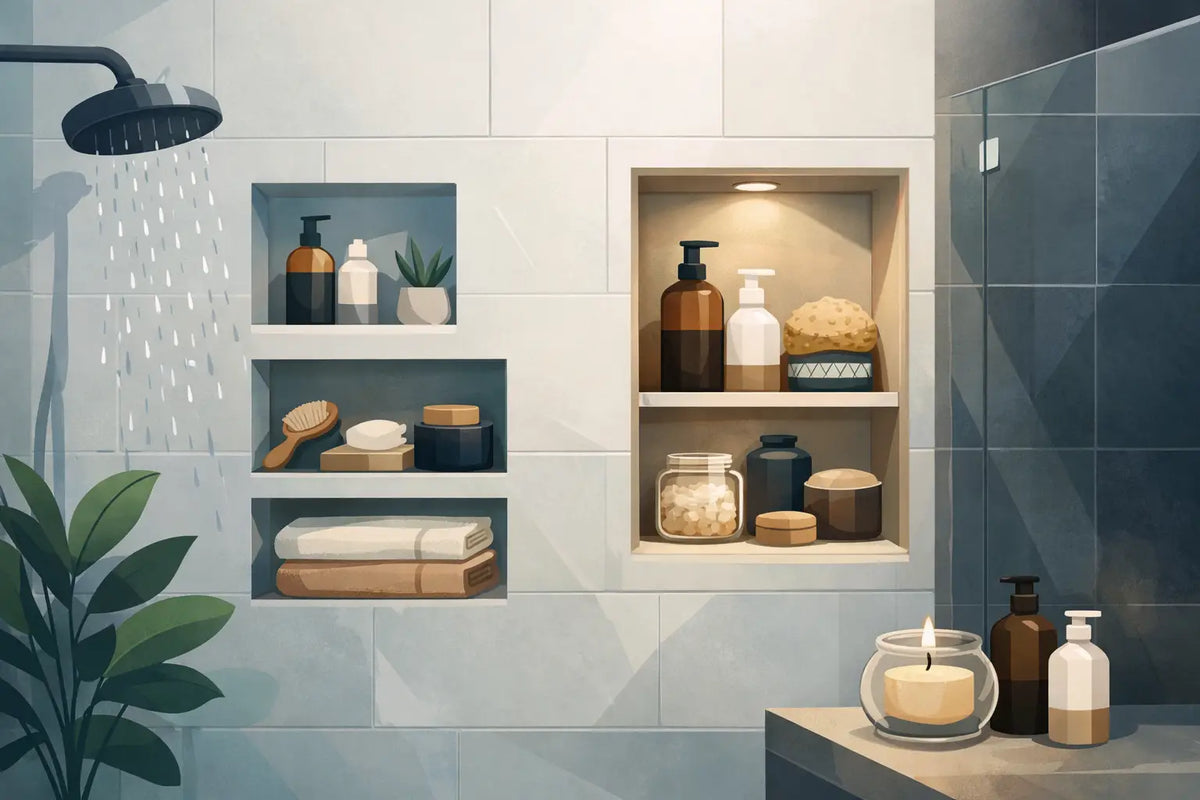
A shampoo bottle sitting on the floor, a bar of soap sliding along the ledge, and a hanging basket cluttering the fixtures: it is often the small details that make a shower look less polished. Shower niches offer a simple, long-lasting solution. Built directly into the wall, they provide accessible storage without reducing the usable space in the shower enclosure.
When chosen carefully, a niche also becomes a finishing element. It can match the wall tile for a discreet look or create contrast with mosaic tile, a dark shelf, or integrated lighting. However, the right model depends on the shower layout, the partition thickness, and the number of products to store.
Why integrate a niche into a shower?
A wall niche replaces the add-on accessories that accumulate in the shower. No supports to attach to the glass, no shelf to work around during cleaning. The storage is at the right height, protected from direct splashes depending on its location, and easy to use every day.
It is also a smart choice for small bathrooms. Unlike a storage column or a projecting shelf, a niche uses the empty space within the partition. It therefore keeps the visual flow more open, an advantage in both a walk-in shower and a more compact enclosure.
Its aesthetic appeal is another benefit. In a contemporary renovation, clean lines and continuous surfaces make all the difference. A niche properly aligned with the tile joints gives the space a cohesive finish rather than storage added as an afterthought.
What dimensions should you choose for your shower niches?
The size should meet your actual needs. A niche that is too small will eventually become cluttered, while an oversized format can throw off the balance of a narrow wall or complicate installation within the structure. Before choosing, count the products that will actually remain in the shower: shampoo, conditioner, body wash, soap, razor, and any other personal-care products.
For a shower used by one or two people, a horizontal niche approximately 60 cm wide is often a good starting point. It allows several bottles to be placed side by side while maintaining an elegant view of the wall. An interior height of 30 cm suits most standard-size products. If you use large pump bottles, check their height before approving the model.
A vertical niche is an excellent option when the available wall is narrow. It gives the wall more height and can accommodate one or two shelves to separate products. In a family shower, two separate niches or a wide niche with an intermediate shelf prevent everything from piling up in the same place.
Depth is just as important. A shallow storage space may be enough for slim products, but a depth of approximately 8 to 10 cm generally provides greater convenience. It must remain compatible with the partition and the planned waterproofing system. It is better to check the finished dimensions, including the ceramic tile, than to rely solely on the measurements of the rough opening.
One niche, two niches, or a custom format?
A single centered niche works very well in a standard shower and limits the amount of work required. Two niches stacked one above the other provide more storage without widening the open area. This solution is practical when several people share the bathroom or when you want to separate personal-care products from shaving accessories.
A custom format offers considerable freedom, particularly for aligning the niche with a faucet, a shower bench, or the joints in the wall covering. However, it requires more thorough preparation. The partition studs, water lines, and structural constraints may limit the possible width. A professional can quickly confirm what is feasible before the wall is opened.
The right location makes all the difference
The ideal location depends on the shower layout. The wall opposite the entrance is often preferred because it highlights the niche as soon as the door is opened. On a side wall, it remains more discreet and may be easier to integrate when the main wall accommodates the fixtures.
Avoid placing it too low. Bending down every time you use it reduces comfort and gives the architectural detail less presence. A height between the users’ waists and shoulders is suitable for most projects. In an accessible shower, the placement should naturally be adapted to the person’s needs and the installer’s recommendations.
The niche must not interfere with technical elements. A wall containing pipes, concealed controls, or electrical cables requires verification before work begins. It is also best not to weaken a load-bearing partition without professional advice. Aesthetics matter, but installation reliability comes first.
Waterproofing and materials: points not to overlook
In a shower, a niche is exposed to moisture every day. Its waterproofing must therefore be treated with the same care as that of the shower base, corners, and walls. A beautiful finish will never compensate for a poorly installed membrane or incomplete connections.
Prefabricated niches designed for tiling simplify this step. They provide a stable base, ready to receive the waterproofing system and covering according to the manufacturer’s instructions. They are especially useful in renovations where the goal is to reduce cutting and secure installation details.
Stainless steel models can suit a more distinctive style. Their surface adds modern contrast to ceramic while remaining easy to clean. Depending on the finish selected, a metal niche can complement black, chrome, or brushed fixtures. However, be sure to check the material quality and its actual resistance to corrosion in a humid environment.
Whatever solution you choose, plan for a slight slope toward the outside on the bottom of the niche. This allows water to drain instead of pooling in a corner. This subtle slope makes maintenance easier and limits the buildup of limescale or soap residue. The grout lines should be even, fully filled, and suitable for use in wet areas.
Prepare the installation at the right time
The niche must be planned before the partition is closed. Waiting until the tile is installed is too late: the wall must be opened, the necessary reinforcement created, the box installed or the opening formed, and complete waterproofing applied before finishing work begins.
The work sequence is simple, but it leaves no room for improvisation. First, locate the studs and utilities, then secure the niche or its frame. The waterproofing is then connected to the shower walls. Finally, the tile is installed with the cuts, corners, and visual alignment in mind.
For a more upscale result, think about the finishing details from the start. A shelf made of ceramic, sintered stone, or a material matching the shower base can strengthen the overall coherence. Recessed LED lighting is appealing in a large shower, but it requires equipment designed for wet areas and a compliant electrical installation.
Create a cohesive style with the shower
A tone-on-tone niche is the most timeless choice. By using the same tile inside and outside, the storage blends into the wall and visually enlarges the space. This option is particularly well suited to minimalist showers and large-format coverings.
For more character, cover the back with mosaic tile, textured ceramic, or a contrasting colour. The contrast should still relate to the rest of the room: a black niche can complement black fixtures, while a light mosaic can echo the vanity top or floor.
The visible frame is another decorative tool. A slim metal border creates a more graphic finish, while a frameless niche emphasizes a continuous, architectural look. The choice depends on the desired style as well as the precision of the installation. A frameless finish requires very clean tile cuts.
Useful checks before purchasing
Before ordering, measure the available wall and check its thickness. Then confirm whether the niche is sold with its shelf, whether it is ready for tiling, and whether its dimensions match the desired finished dimensions. Also review the material type, installation recommendations, and compatibility with your waterproofing system.
At Voda, the goal is to help you bring together the essential elements of a cohesive bathroom: shower, base, door, fixtures, and finishes. Choosing a niche at the same time as these components makes it easier to coordinate materials, colours, and dimensions.
A successful shower niche does not try to attract attention at all costs. It simplifies your routine, frees up space, and extends the style of the room. By planning it from the design stage, you transform a storage need into a durable, practical, and elegant finishing feature.
